Custom CSS in PXStudio
PXStudio's free version of the WYSIWYG editor has limited design capabilities. To enable more adaptable design options, a custom CSS has been created.
CSS controls the look of HTML elements such as tables, paragraphs, and images. It also manages font type, size, and color.
To be able to use this, some code has to be added to a widget. This code can be found in Appendix 1, and has to be copied/pasted into the widget using "HTML Editor" mode.
However, PXStudio has a tendency to jumble up code that's been added that way, switching between "HTML Editor" and "Default" can mess up the rest of the content. And it can be tricky to clean everything up.
So while it is possible to work that way, it's much easier to create a separate "dummy" widget that only contains the CSS and nothing else. That widget should be configured to not be visible when the page is published. Once the CSS is in place in one widget, it will be available to all widgets on that page.
USING THE NEW STYLE
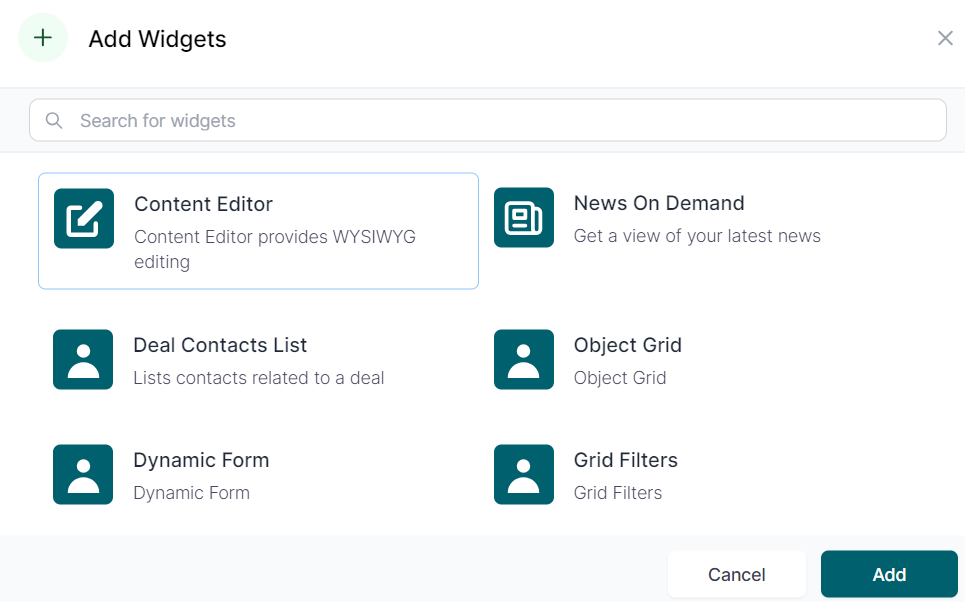
Start by adding a new widget of type "content Editor":

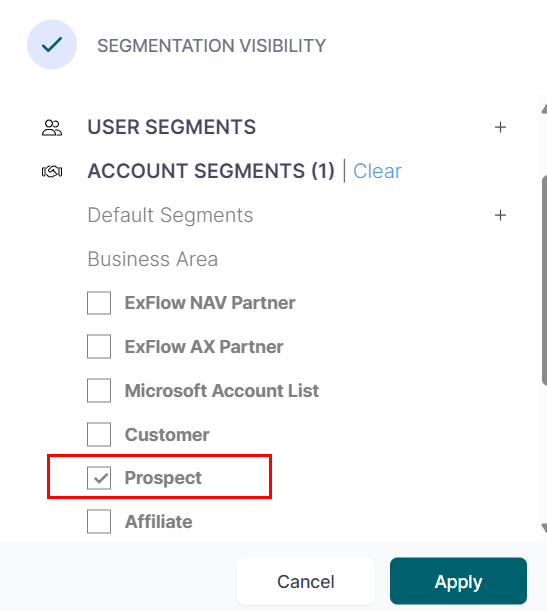
To make the widget invisble from the outside, click "Segmentation Visibility":
From there, expand "ACCOUNT SEGMENTS" -> "Business Area" and select "Prospect":

Widgets using the "Prospect" account will not be visible when the page is published.
To enable CSS in the page
- Copy all the text from Appendix 1.
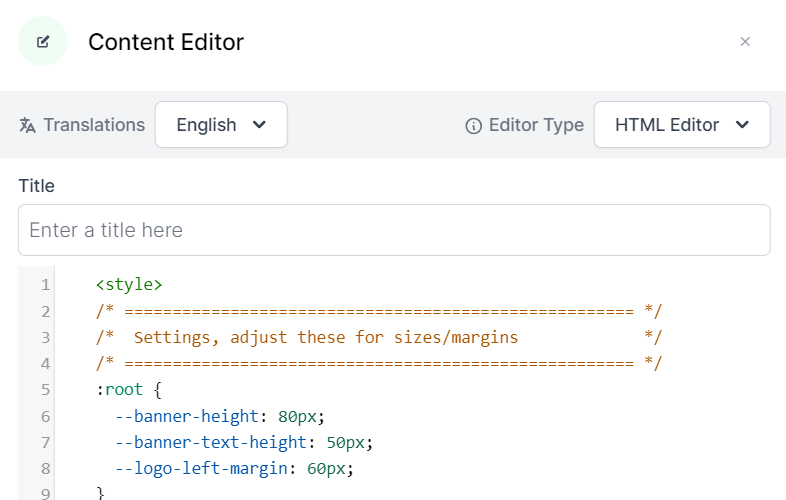
- Open the widget that was just added in HTML editor mode.
- Paste the text at the very top of the editor, on line 1.

After saving, the widget will be empty, nothing else needs to be added to it. Other widges will however be able to reference the CSS that was just pasted in.
Banners
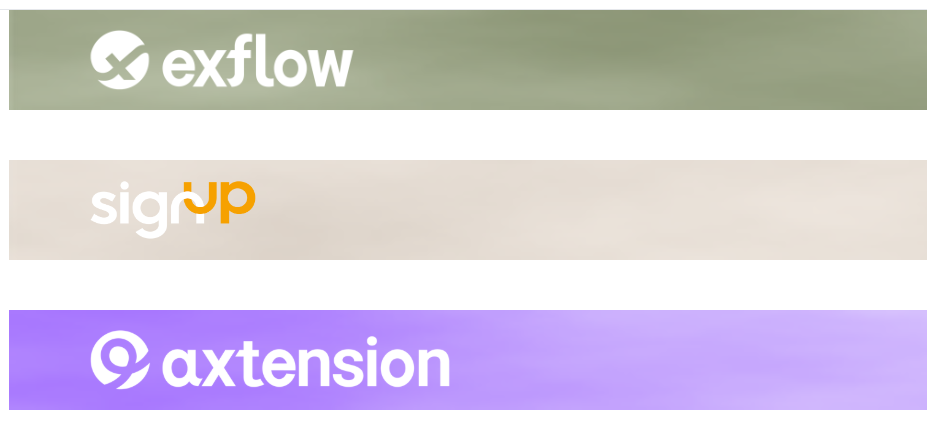
A more colorful banner with a background image and product logo.

ADDING A BANNER
For now, three different components have been created for: ExFlow, SignUp and Axtension.
The component itself is added by pasting the following code into the PXStudio editor (in "HTML editor" mode) at the very top on line 1:
<div class="banner PRODUCT_NAME">
  <img class="logo"/>
</div>
The text PRODUCT_NAME is then replaced with one of the following values:
- exflow
- signup
- axtension
For example, when adding a banner for Axtension, use this code:
<div class="banner axtension">
  <img class="logo"/>
</div>
Paste it below the "End of CSS" comment block and above any PXStudio generated code
After saving, the banner should appear at the top.
Banner with text
Besides the types mentioned before, there is also a type of banner that can have text added to it. For now, only the exflow type has this functionality, but it can be added to others if needed.
To add that type of component, use the code:
<div class="banner exflow-small">
  <img class="logo" title="logo" />
  <div class="banner-text">Invoice approval</div>
</div>
The text Invoice approval can be changed to something else.
CUSTOMIZING THE BANNER
The banner can be modified by changing the CSS. Key attributes are available as variables at the top of the editor code in HTML mode, starting with the line:
:root {
| Variable | Description |
|---|---|
--banner-height | Vertical size of the banner. Default is 80 pixels. |
--banner-text-height | Vertical size of the logo/name shown. Default is 50 pixels |
--logo-left-margin | Space beween the logo and the left side of the banner |
--label-color | If text labels are used, this sets the text color |
--label-size | Size of font in text banners |
APPENDIX 1
Main CSS for Widgets.
<link rel="preconnect" href="https://fonts.googleapis.com">
<link rel="preconnect" href="https://fonts.gstatic.com" crossorigin="">
<link href="https://fonts.googleapis.com/css2?family=Caveat:wght@400..700&display=swap" rel="stylesheet">
<link href="https://fonts.googleapis.com/css?family=Atkinson Hyperlegible" rel="stylesheet">
<style>
/* ===================================================== */
/* Settings, adjust these for sizes/margins */
/* ===================================================== */
:root {
--banner-height: 80px;
--banner-text-height: 50px;
--logo-left-margin: 20px;
--label-color: #EEE;
--label-size: 34pt;
}
/* ===================================================== */
/* Base layout */
/* ===================================================== */
.banner {
height: var(--banner-height);
width: 98%;
background-size: auto 80px;
display: inline-flex;
}
.logo {
width: auto;
height: var(--banner-text-height);
margin: calc((var(--banner-height) - var(--banner-text-height)) / 2);
margin-left: var(--logo-left-margin);
}
.banner-text {
line-height: var(--banner-height);
color: var(--label-color);
font-family: "Atkinson Hyperlegible";
font-size: var(--label-size);
}
/* ===================================================== */
/* Banners, these can be added to with new images */
/* ===================================================== */
.exflow {
background-image: url("https://images.prmcdn.io/vzemszbzch0t/images/Banner PRM-Exlfow 5000x80.png");
}
.exflow img {
content: url("https://images.prmcdn.io/vzemszbzch0t/images/Exflow__White_600.png");
}
.exflow-small {
background-image: url("https://images.prmcdn.io/vzemszbzch0t/images/Banner PRM-Exlfow 5000x80.png");
}
.exflow-small img {
content: url("https://images.prmcdn.io/vzemszbzch0t/images/ExFlow_logo_symbol_small_white.png");
}
.signup {
background-image: url("https://images.prmcdn.io/vzemszbzch0t/images/Banner PRM-signup 5000x80.png");
}
.signup img {
content: url("https://images.prmcdn.io/vzemszbzch0t/images/SignUp_White+Orange_600.png");
}
.axtension {
background-image: url("https://images.prmcdn.io/vzemszbzch0t/images/Banner PRM-Axtension 5000x80.png");
}
.axtension img {
content: url("https://images.prmcdn.io/vzemszbzch0t/images/Axtension_White_600.png");
}
</style>
APPENDIX 2
Currently available banners
ExFlow

<div class="banner exflow">
  <img class="logo"/>
</div>
SignUp

<div class="banner signup">
  <img class="logo"/>
</div>
Axtension

<div class="banner axtension">
  <img class="logo"/>
</div>
ExFlow, with text

<div class="banner exflow-small">
  <img class="logo" title="logo" />
  <div class="banner-text">Invoice approval</div>
</div>